Strong Legs with Banded Split Squats: Build Strength and Stability
Posted by Melinda Noah on
Strong Legs with Banded Split Squats: Build Strength and Stability
Welcome to Clench Fitness! If you're looking to build strength and stability in your lower body, our latest video on banded split squats is a must-watch. Split squats are an excellent exercise for targeting your quads, hamstrings, and glutes, while also improving your balance and stability. In this blog post, we'll dive deep into the benefits, proper form, and variations of split squats that can help you maximize your lower body workouts.
Benefits of Split Squats
Split squats are a highly effective exercise for strengthening the lower body. Here’s why they should be a staple in your workout routine:
- Target Multiple Muscles: Split squats primarily work your quads, hamstrings, and glutes, making them a comprehensive lower body exercise.
- Improve Balance and Stability: The staggered stance required for split squats helps improve your balance and engages stabilizer muscles.
- Versatility: You can perform split squats with body weight, resistance bands, or additional weights like dumbbells to suit your fitness level.
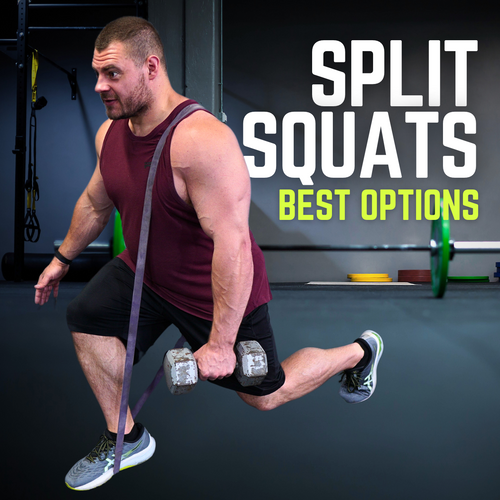
Proper Form for Banded Split Squats
Starting with the basics, a split squat involves a staggered stance where your front leg bends to about a 90-degree angle, and your back knee hovers just above the floor. Here’s how to perform a banded split squat:
- Set Up: Stand with your feet staggered, one foot in front of the other. Place the resistance band under your front foot.
- Position the Band: Hold the band and drape it over your front deltoids, similar to a front squat position. Alternatively, you can drape it over one shoulder like a sash for a more comfortable fit.
- Perform the Squat: Lower your body by bending your knees, keeping your front knee over your ankle and your back knee just above the ground. Focus on engaging your quads, hamstrings, and glutes as you perform the movement.
- Return to Start: Push through your front heel to return to the starting position.
Variations to Increase Intensity
Once you’ve mastered the basic split squat, here are some variations to make the exercise more challenging and effective:
- Heavier Bands: Increase the resistance by using heavier resistance bands to add more load.
- Dumbbell Addition: Hold a dumbbell on the inside or outside of your body to shift your center of gravity and engage more stabilizer muscles.
- Bulgarian Split Squats: Elevate your rear leg on a bench or step to increase the range of motion and further challenge your balance and stability.
Advanced Techniques: Bulgarian Split Squats
For those ready to take their split squats to the next level, Bulgarian split squats are the way to go. Here’s how to perform them:
- Set Up: Position a bench or step behind you and place your rear foot on it.
- Position the Band: Load the band as described earlier, either over your front delts or shoulder.
- Perform the Squat: Lower your body, ensuring your front knee doesn’t go too far over your toes. Keep your back leg vertical and maintain balance throughout the movement.
- Adjust for Target Muscles: To target your quads, keep a vertical spine. To target your glutes, lean slightly forward during the movement.
Get the Gear You Need
To perform these exercises, you’ll need a high-quality resistance band. At Clench Fitness, we offer the best resistance bands and accessories to help you get the most out of your workouts. Visit www.clenchfitness.com to check out our selection.
Conclusion
Incorporating split squats into your workout routine is a fantastic way to build lower body strength and stability. Whether you’re just starting or looking for advanced variations, our video on banded split squats has something for everyone. Be sure to watch the full video on our YouTube channel and subscribe for more fitness tips and workouts.
If you found this post helpful, don’t forget to share it. For more content like this, explore our other videos and blog posts. Happy training!